Modules
The Modules can be accessed only by admin user who can view view the installed modules, new updates, install new modules or remove the installed ones.
View Modules
- Go to More->Modules;
-
The system opens the 'Modules' blade that consists of the following blocks:
- Updates
- Available
- Installed
- Advanced
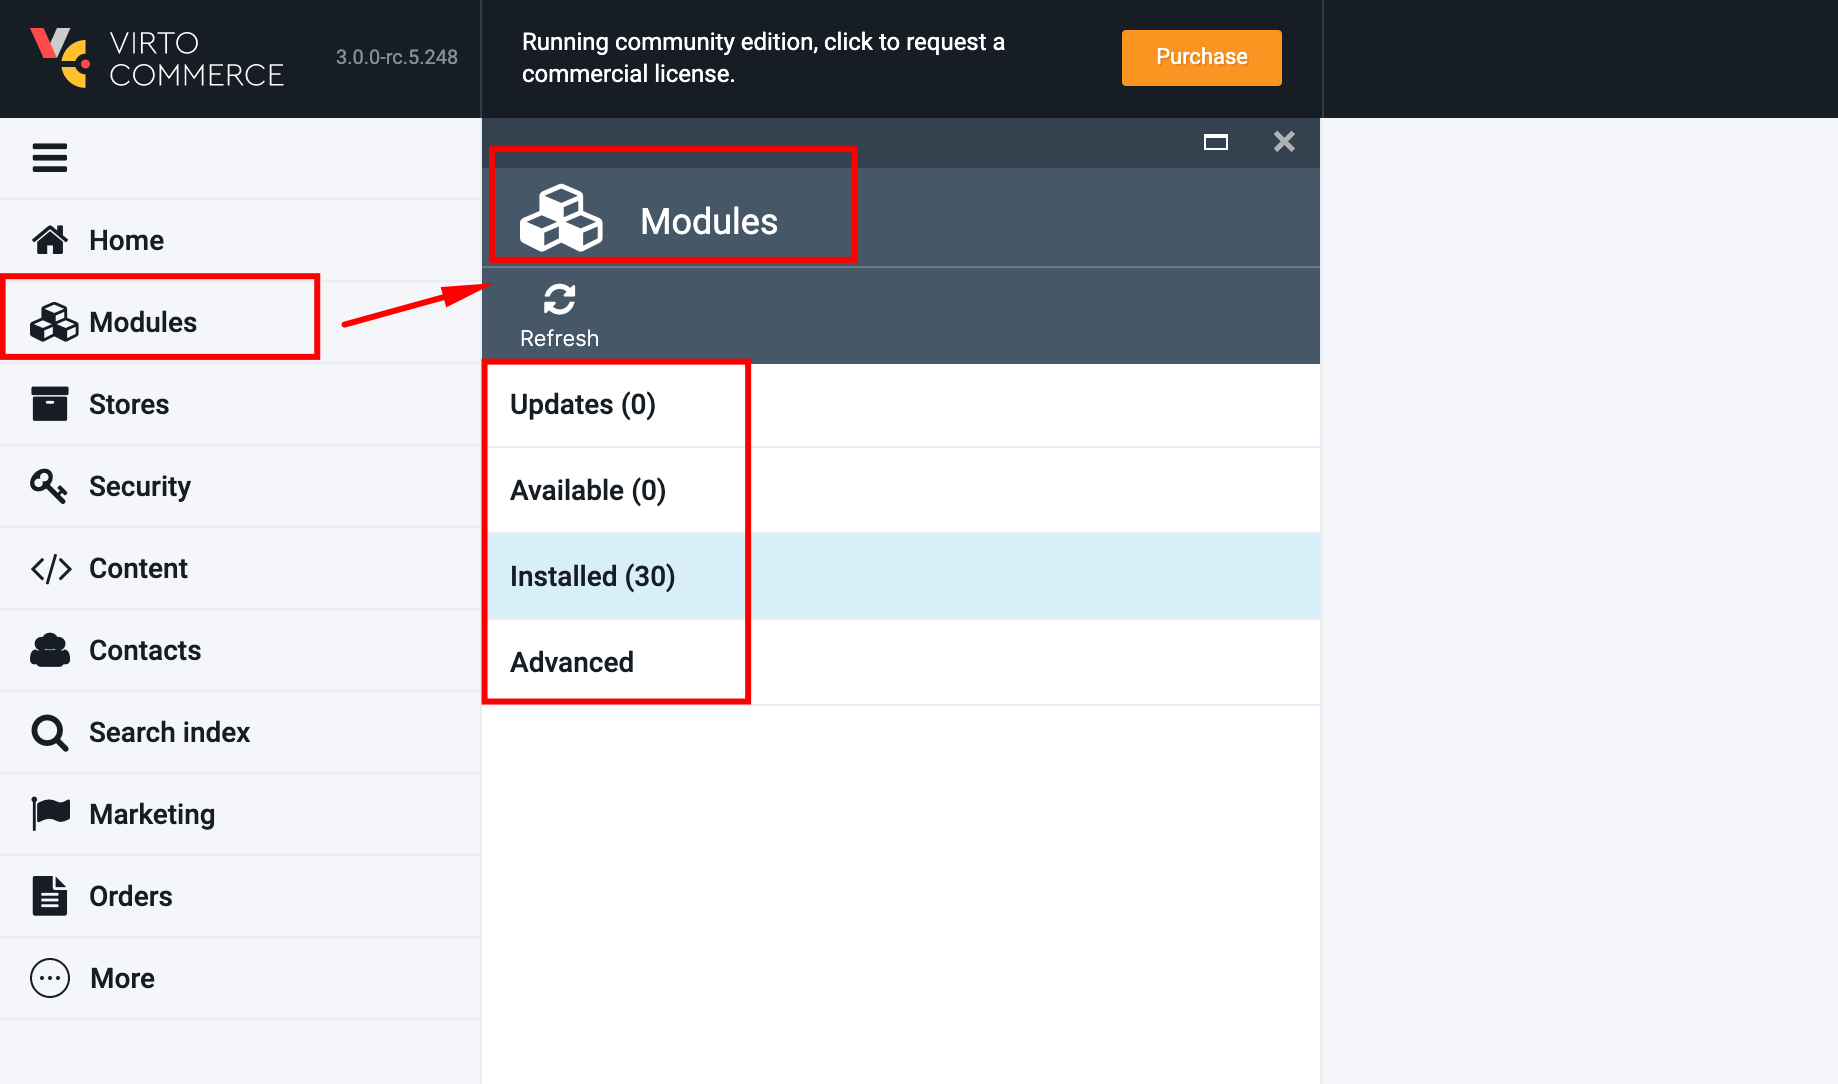
- The 'Updates' block displays the available updates;
- The 'Available' block contains the list of available modules in VC that can be installed;
- The 'Installed' block displays the already installed modules in VC;
- The 'Advanced' block provides the possibility to upload a module from outside the Modules repository.
Install Modules
- Open the 'Available' blade and select the Module you want to install;
- The system will display the Module info with an enabled 'Install' button;
- Click 'Install';
- Confirm the module installation by clicking the 'Confirm' button on the 'Install confirmation' pop-up;
- The new module will be installed;
- The installed module will appear in the list of installed modules.
View Installed Modules
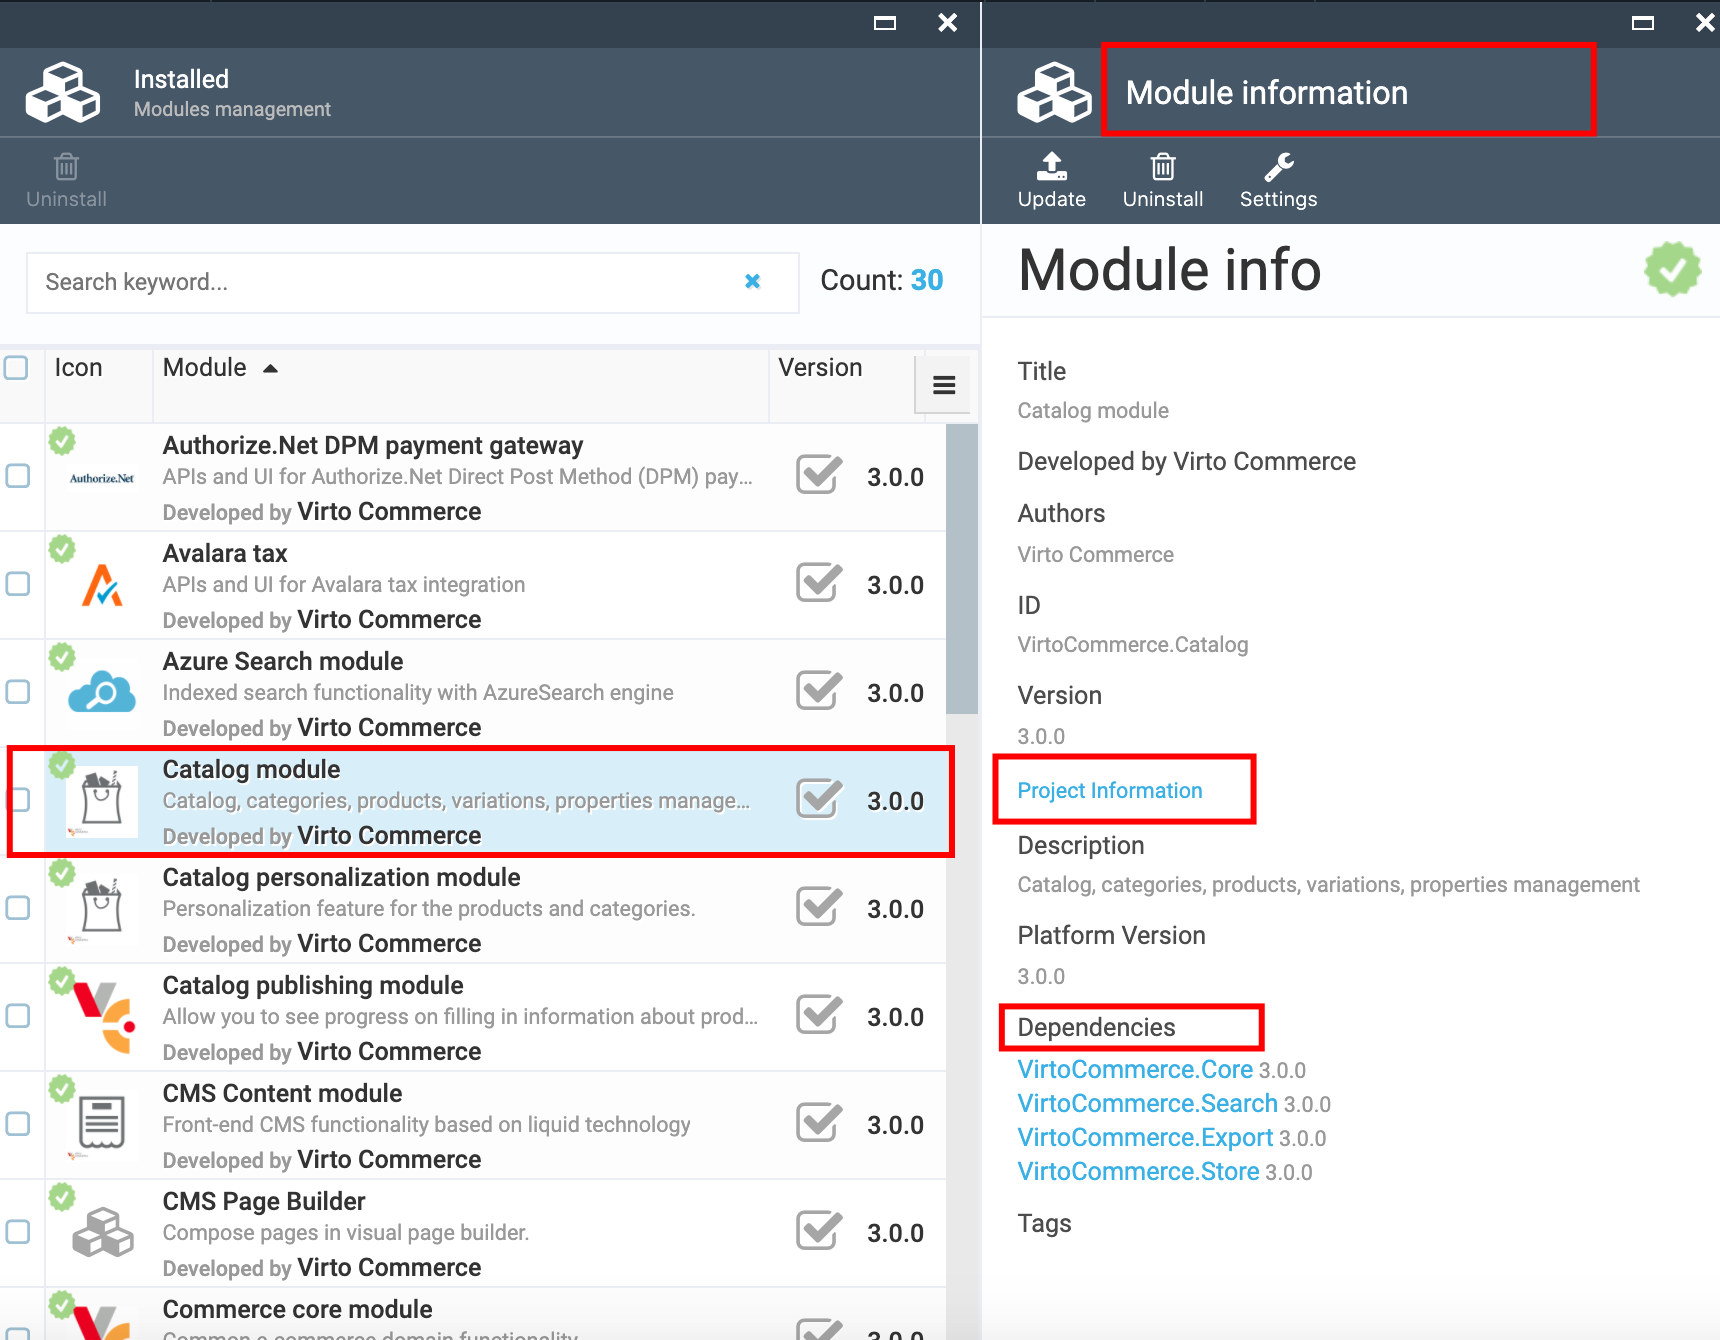
- Open the 'Installed' blade;
- The list of installed modules in VC will be displayed;
- All VC modules are checked with the green check sign. External modules have no such sign;
- The 'Uninstall' button is disabled by default, unless a module is selected;
- To view the Module info, simply click on the module and the system will open the 'Module info' blade.
Module Info
-
The Module info blade displays the following information:
- Title;
- Developed by;
- Authors;
- ID;
- Version;
- Project information- link;
- Description;
- Platform version;
- Dependencies.
- Tags
- To view the project information, simply click on the corresponding link.
Install/Update Module From File
- Open the 'Advanced' blade;
- Click the 'Upload' icon;
- Select the zip file on your local disk to upload;
- The system will upload the file and install the module (or update it).
Last update:
June 9, 2020